We have all been there. You spot a pair of stunning stilettos, envision yourself strutting down the street like a runway model, and make the purchase. But the moment you slip them on, the fantasy crumbles. Your confident stride turns into a precarious wobble, and within twenty minutes, the only thing you’re thinking about is how quickly you can take them off. Learning how to walk in high heels confidently transforms them from instruments of torture to tools of empowerment.
This definitive guide moves beyond basic tips, offering a step-by-step mastery method for walking in heels with poise and without pain. Just like learning to drive or play an instrument, mastering the art of the heel is a skill, not a genetic trait, and with the right technique, you can say goodbye to the wobble for good.
How to Walk in High Heels Starts with Proper Preparation
Success starts before you even stand up. Many people assume they simply can’t walk in heels, when the reality is they are trying to walk in the wrong heels or haven’t properly prepared their feet.
Choosing the Right Heel
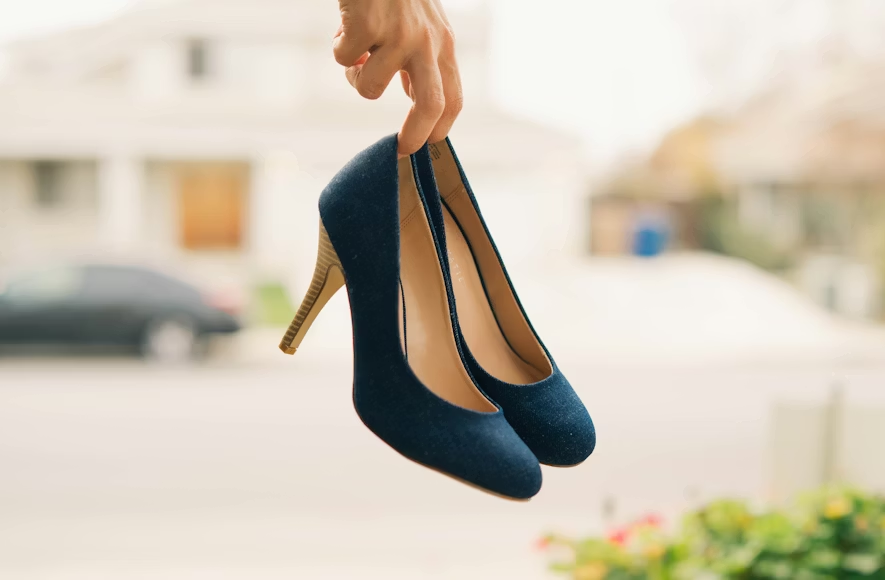
If you are a beginner, do not start with a 5-inch stiletto. It’s like trying to run a marathon before you can jog a mile. Start with stability. Block heels, wedges, or kitten heels (1–2 inches) offer a wider surface area, making balance significantly easier.
Pay close attention to the fit. A heel that is too loose will cause your foot to slide forward, crushing your toes and causing blisters. A heel that is too tight will pinch nerves and restrict circulation. Look for a snug fit around the heel cup, enough wiggle room for your toes, and a wide toe box to prevent the formation of bunions.
The Essential Break-In
Never wear brand-new heels to a big event. The leather needs time to mold to the unique shape of your foot. To break them in properly, wear thick socks with your heels and walk around on a carpeted surface for 30-minute intervals over several days. The socks gently stretch the material without damaging your skin. If you have specific tight spots, using a professional shoe stretcher can provide that extra millimeter of breathing room.
Product Hacks for Instant Comfort
Even the best shoes can benefit from a little engineering.
- Adhesive Gel Pads: Place these under the ball of your foot to absorb shock and reduce the burning sensation.
- Heel Grips: Essential for preventing your heel from slipping out of the shoe, which is a major cause of instability.
- Non-Slip Sole Pads: If the bottom of your shoe is slick, add these for traction so you don’t feel like you’re walking on ice.
The Mechanics: Mastering Posture and Gait
This is the core lesson. Walking in flats versus walking in heels requires entirely different biomechanics. If you try to walk normally, you will likely stomp or trip.
How to Stand
Before you move, you must align your body. Stand tall, roll your shoulders back and down, engage your core, and tuck your pelvis slightly. Imagine a straight line running from your earlobe, through your shoulder and hip, down to your ankle. This alignment prevents you from slouching or leaning too far forward, which puts unnecessary pressure on the balls of your feet.
The Heel-to-Toe Walk Demystified
The golden rule of how to walk in heels is the heel-to-toe method.
- The Strike: Place your heel down first.
- The Roll: Roll smoothly through the arch to the ball of your foot.
- The Push: Push off from your toes.
Drill 1: Practice this motion slowly while holding onto a wall for support. Feel the weight transfer.
Drill 2: Imagine you are walking on a tightrope. Place one foot directly in front of the other rather than side-by-side. This narrows your base of support but actually increases the sway of your hips, giving you that effortless, gliding look.
Expert Tip: To grip the shoe better for stability, try slightly arching your foot inside the shoe. It engages the muscles and prevents sliding.
Posture and Pace
Heels naturally pitch your weight forward. To counteract this, lean back ever so slightly. It feels unnatural at first, but it centers your gravity. Finally, slow down. Taking smaller, controlled steps is the secret to elegance. Rushing leads to clunky, bent-kneed walking. Confidence is slow; panic is fast.
Leveling Up: Advanced Techniques for Tricky Situations
Once you have mastered the flat surface, the real world throws obstacles your way. Here is how to navigate them without losing your cool.
Navigating Different Surfaces
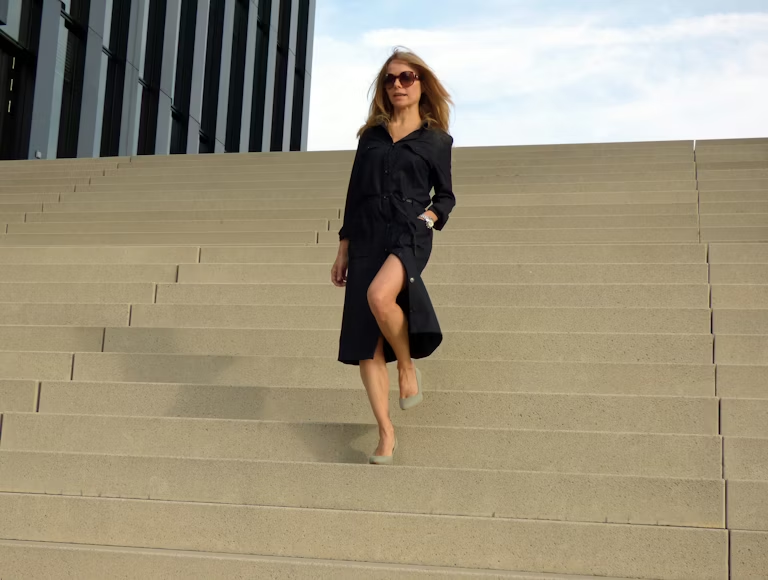
- Stairs: When going up, place your entire foot flat on each step for stability. When going down, lead with the ball of your foot and use the handrail. Always check the step before you land.
- Grass or Gravel: This is the enemy of the stiletto. Opt for wedges or block heels if you know you’ll be on a lawn. If you must wear thin heels, shift your weight almost entirely to your toes to prevent the heel from sinking into the ground.
- Slippery Floors: Reduce your stride length even further. Take small, flat-footed steps to maximize the surface area in contact with the floor.
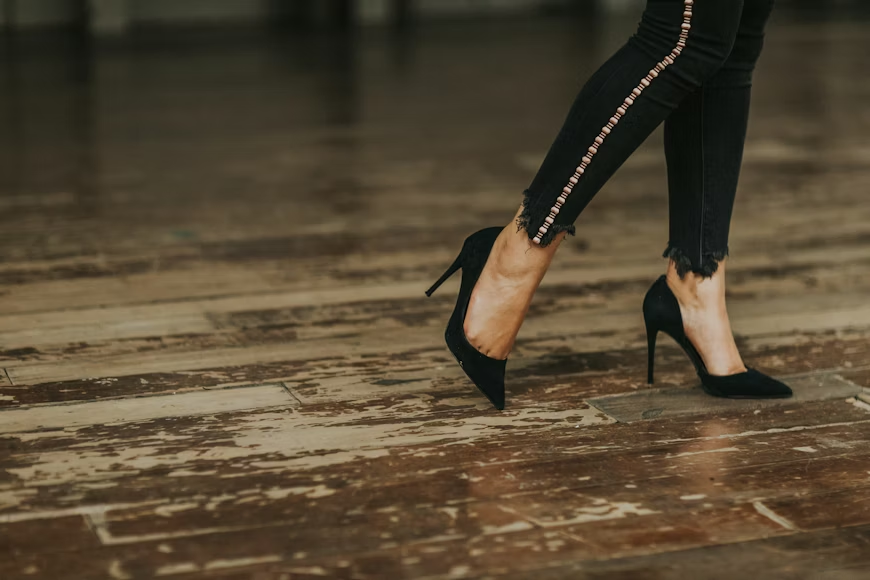
How to Walk in Stilettos Specifically
Stiletto heels offer the least amount of support and require the most practice. The key here is the arch and grip technique mentioned earlier. Because the heel is so thin, you cannot rely on it for balance as much as a block heel. You must rely on your core and ankles. To avoid the loud clomp-clomp sound, focus on a softer, rolling step where you gently place the heel down rather than striking it against the floor.
Pain Prevention and Recovery: A Podiatrist-Informed Approach
You can look great without destroying your feet. Treating your feet like athletes treat their bodies is the secret to longevity in heels.
Pre-Wear Prep
Warm up your feet. Do a few ankle rotations and calf stretches before sliding your feet into the shoes. This prepares the tendons for the shortened position they will be in.
During the Event
Don’t be a hero. If there is a chance to sit, take it. Periodically shift your weight from one hip to the other while standing to give each foot a micro-break. When seated, you can discreetly flex your toes and rotate your ankles to keep the blood flowing.
Post-Event Recovery
Podiatrists advise treating heel hangovers with the RICE method: Rest, Ice, Compression, and Elevation. If your feet are throbbing, a 15-minute soak in Epsom salts followed by a foot massage can reduce inflammation and relax tight muscles. This recovery phase is crucial for preventing long-term issues like plantar fasciitis.
Your Heel Journey
Mastering the high heel isn’t about enduring pain for the sake of fashion; it’s about understanding the mechanics of your body and having the right tools. It requires patience, the correct shoe choice, and mindful practice.
So, lace up (or slip on) your chosen pair and start with the posture drills. Remember, every expert runway walker was once a beginner who wobbled, tripped, and refused to give up. You have got this.