For years, I was on a mission: to replicate the perfect, bouncy blowout my stylist gave me, but in my own bathroom without the damage. My quest for the perfect heatless curls led me to become a guinea pig for every viral technique on TikTok, from socks to satin ribbons. I was tired of hot tools that left my hair dry and brittle, and I was determined to find a better way. This guide is the result of that journey, and I’m sharing everything I learned to save you time, money, and most importantly, your hair’s health.
I knew there had to be a better way. As heatless curling methods started flooding my TikTok feed, I decided to become a guinea pig. I tested every viral technique, from socks to satin ribbons, to figure out what actually delivered on the promise of effortless, salon-worthy curls.
This guide is the result of that journey. I am sharing everything I learned to save you time, money, and most importantly, your hair’s health. Here, you’ll find a definitive ranking of the most popular methods and the exact steps to achieve curls that last.
Why Heatless Curls? More Than Just a TikTok Trend

The move toward heatless styling is more than just a fleeting internet trend; it’s a significant shift in how we approach hair care. The global market for heatless hair curlers is projected to hit $259.3 million by 2032, proving that people are actively seeking healthier alternatives.
So, why is everyone making the switch?
- Hair Health Benefits: The primary advantage is the elimination of heat damage. Constant exposure to high temperatures from curling irons and straighteners weakens the hair’s protein structure, leading to dryness, split ends, and breakage. By going heatless, you preserve your hair’s natural moisture and integrity.
- Convenience & Time Savings: Many heatless methods are designed to work overnight. You can set your hair in just a few minutes before bed and wake up with it perfectly styled. This set it and forget it approach is a game-changer for busy mornings.
- Economic & Sustainable Advantages: A one-time purchase of a reusable heatless curler is far more cost-effective than investing in multiple high-end heat tools. It’s also an eco-friendlier choice, as it consumes no electricity and reduces product waste.
Preparation is Key: How to Prep Your Hair
Achieving the perfect heatless curl starts long before you wrap your hair. Proper preparation is the secret to a bouncy, long-lasting style.
First, focus on the ideal moisture level. Your hair should be about 70–80% dry. If it’s too wet, it won’t dry completely overnight, leaving you with damp, limp waves. If it’s completely dry, the curls won’t set properly. The goal is hair that feels slightly cool and damp to the touch but isn’t dripping.
Next, choose the right pre-styling products for your hair type. This step provides the necessary hold and structure for your curls.
- For fine hair: A light, volumizing mousse will add grip and body without weighing your hair down.
- For thick hair: A curl-defining cream will help control frizz and shape your curls for a more polished finish.
- For all hair types: A leave-in conditioner can add a layer of hydration and protect your strands while they set.
Finally, select a tool that matches your hair type and desired outcome. Different tools produce different types of curls, from tight ringlets to loose, beachy waves.
The Ultimate Showdown: My Ranking of Heatless Curl Methods
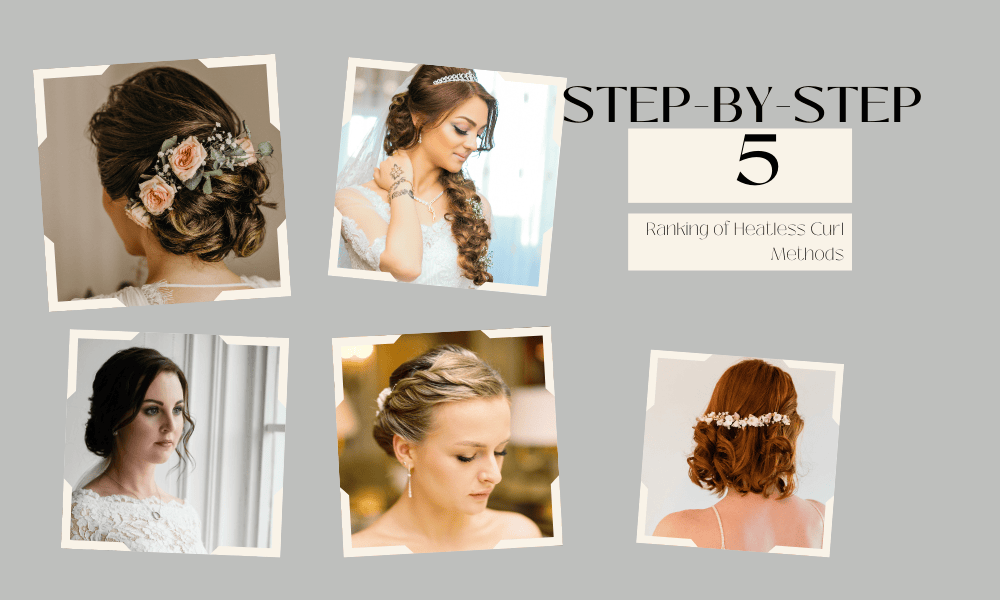
I put five popular heatless curling methods to the test, ranking them on comfort, ease of use, and final results. Here’s the definitive breakdown.
Method 5: Flexi Rods
- My Experience: Applying these was surprisingly difficult. The rods are flimsy, and wrapping my hair evenly around them took a lot of practice. Sleeping was a challenge; the rods poked into my scalp no matter how I positioned my head. The result was a head full of overly tight, poodle-like curls that weren’t the soft, bouncy look I was after.
- Best For: Anyone seeking very defined, tight curls and who doesn’t mind a bit of nighttime discomfort.
- Rating: 4/15 – The result wasn’t worth the hassle or the uncomfortable night’s sleep.
Method 4: Foam Rollers
- My Experience: There’s a certain vintage charm to foam rollers, but the application was tricky. The plastic clips used to secure them kept snagging my hair. While they were slightly more comfortable than flexi rods, I still woke up a few times during the night. The initial curls were beautiful and voluminous, but they disappointingly fell flat within a couple of hours.
- Best For: Deep sleepers who need a quick curl for a short event.
- Rating: 5/15 – The fleeting results didn’t justify the restless night.
Method 3: Classic Ribbon Curler
- My Experience: This was the first method that felt truly promising. The Kitsch Satin Heatless Curling Set was easy to use, and wrapping my hair around the soft satin rod took less than five minutes. It was completely comfortable to sleep in. I woke up to soft, uniform, and wearable waves that lasted all day with just a touch of hairspray.
- Best For: Beginners looking for a reliable and comfortable overnight method.
- Rating: 9/15 – A consistent and dependable performer that delivers every time.
Method 2: Jumbo Flexi Rods
- My Experience: This method came so close to perfection. The jumbo size of these rods, similar to the Kitsch Satin Jumbo Flexi Rods, creates incredible volume and a stunning blowout effect. However, they were difficult to secure, and a few fell out while I was sleeping, leaving some sections of my hair completely straight. The sheer volume was almost worth the trouble, but the inconsistency was a letdown.
- Best For: Those who prioritize maximum volume and can find a way to secure the rods tightly overnight.
- Rating: 10/15 – The results were amazing, but the execution needs perfecting.
Method 1: Sock Curls (The Undisputed Winner)
- My Experience: I’ll admit, I was skeptical. But using a simple pair of tube socks delivered the best results by a landslide. The process was unbelievably easy: I wrapped my damp hair around two socks, secured the ends, and went to bed. It was the most comfortable method by far. I barely felt them. The next morning, I unraveled them to find perfect, soft, bouncy blowout curls that looked professionally done.
- Best For: Absolutely everyone. It’s the ultimate low-effort, high-reward method for maximum comfort and flawless results.
- Rating: 15/15 – My holy grail. Simple, comfortable, and consistently delivers stunning curls.
Pro Tips for Making Your Heatless Curls Last
Once you have achieved the perfect curl, you want it to last. Here are a few tricks I have learned:
- Wrap Tightly: Use smaller, tighter sections when wrapping your hair. This creates a more defined curl with a stronger structure, which helps it hold its shape longer.
- Ensure Complete Dryness: Before unraveling your curls, ensure your hair is 100% dry. If it’s still damp, the style won’t set. If needed, use a blow-dryer on a cool setting to remove any remaining moisture.
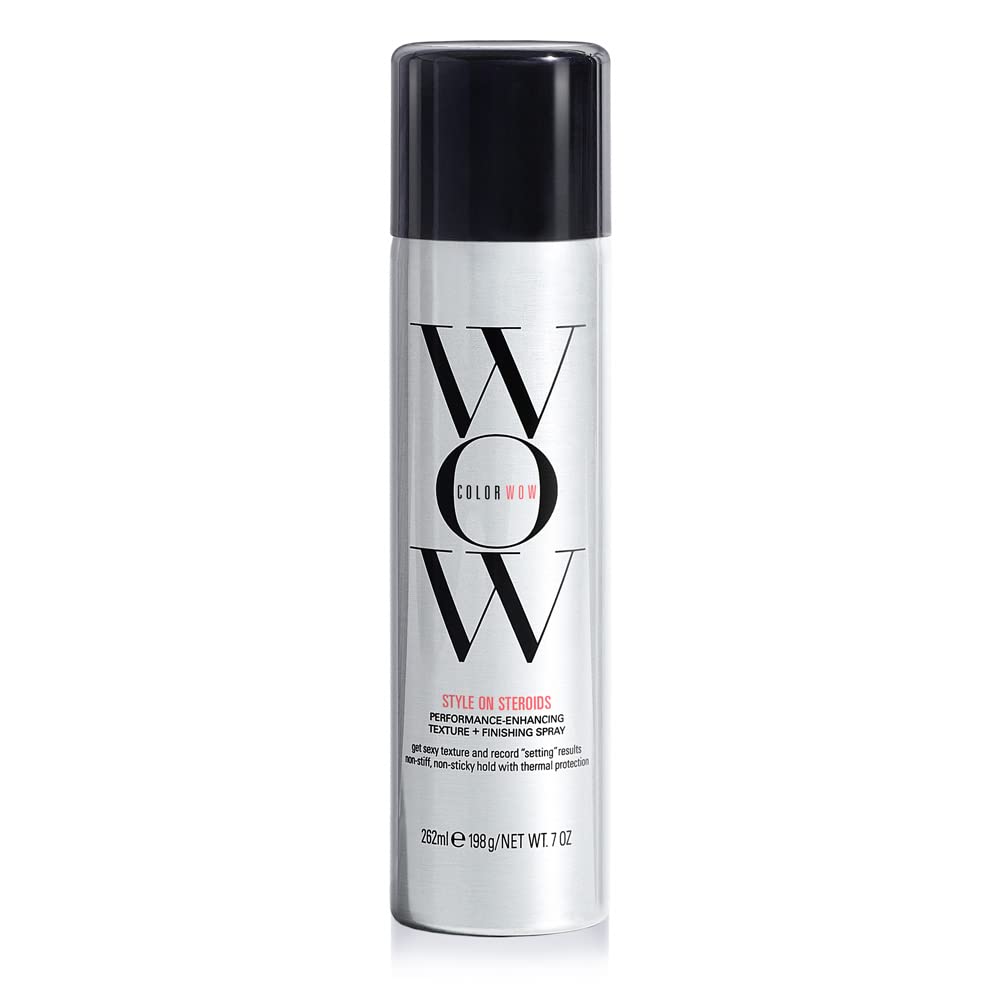
- Seal the Deal: Once you’ve taken your curls down, gently mist them with a light-hold hairspray or apply an anti-frizz serum to your palms and lightly scrunch your hair. This will lock in the style and protect it from humidity.
- Preserve Curls Overnight: To extend the life of your curls for a second or even third day, protect them while you sleep. Wear a silk bonnet or use a silk pillowcase to reduce friction and prevent frizz.
Troubleshooting for Different Hair Types
Not all hair is created equal, but heatless curls can work for everyone with a few adjustments.
- For Short Hair: You can still achieve a beautiful style! Use smaller tools like thin ribbons or create smaller sections for sock curls. Focus on wrapping the upper sections of your hair to create wave patterns and volume near the crown.
- For Fine/Straight Hair: Product is your best friend. Use a volumizing mousse to give your hair grip and avoid wrapping it when it’s too wet, as the extra water can weigh it down.
- For Thick/Curly Hair: Use heavier curl creams to control volume and enhance your natural pattern. Your hair may also require a longer setting time, so be sure it’s only slightly damp when you start.
- Common Mistakes to Avoid: Don’t wrap hair that is soaking wet. Avoid unraveling your curls too early before they are fully dry. And never skip your hold product!
Amazon Affiliate Disclaimer
This article contains affiliate links to products. As an Amazon Associate, I earn from qualifying purchases. If you make a purchase through these links, I may receive a small commission at no extra cost to you. This helps support the blog and allows me to continue creating content like this. Thank you for your support!
Find Your Perfect Heatless Curler
Ready to start your journey? You can find a wide variety of heatless curling tools on Amazon or directly from brand websites like Kitsch, which offers excellent satin options. When shopping, look for materials like satin or silk that reduce friction and frizz. My top picks remain the classic Kitsch Satin Heatless Curling Set for reliability and, of course, a trusty pair of socks for unbeatable comfort and results.
My New Effortless Hair Routine
My journey through the world of heatless curls has completely transformed my hair routine. Gone are the days of stressing over heat damage and spending ages with a curling iron. Now, my styling is a simple, five-minute task before bed, and I wake up with healthy, beautiful hair.
Experiment with these methods and find what works for you. Your hair will thank you for it.
Have you tried any of these heatless curl methods? Share your results and favorite techniques in the comments below!